Last Updated on May 31, 2015 by Chef Mireille
This recipe involved a number of firsts for me. It was my first bread I baked using a Dutch oven. It was my first bread I baked using a starter. I originally got the methodology and idea for the seasoning from a King Arthur Flour recipe – after all, who doesn’t love an everything bagel, but I’ve changed the recipe so much including the spice mix, it bears little resemblance to that one. So how did this recipe change so much?
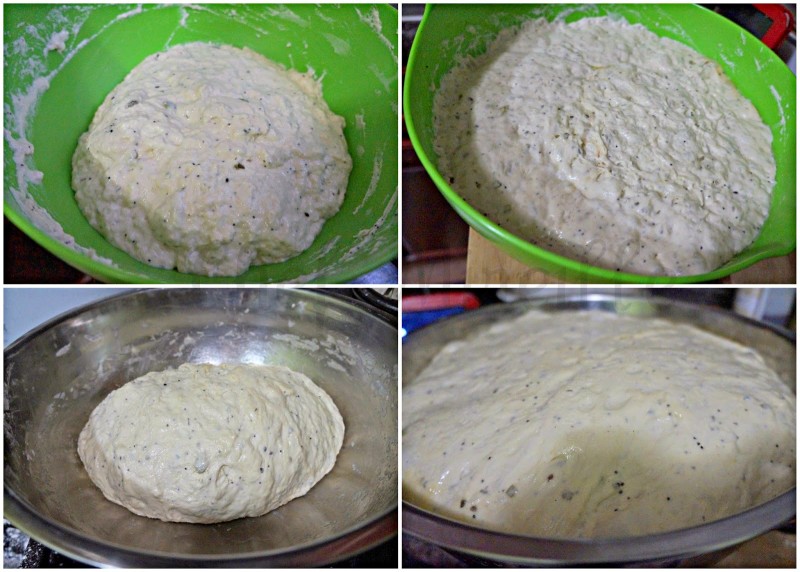
The original recipe was a standard 2 rise recipe, but using the no knead method with a dough that’s a little slack. This original recipe used all purpose flour, but since I live in the Northeast and was making this bread in February when the temps were hovering around 20 F, I wanted to use bread flour. In the winter months, I try to use only bread flour for baking bread. That meant I had to adjust the water quantity because bread flour weighs more than all purpose flour and absorbs more liquid. I did the math, but when I was putting the dough together it seemed more dry from what I remembered when I made this other no-knead bread. I added more water and in the end, I think I added too much. I was tempted to add more flour to compensate, but instead I decided to throw caution to the wind and see what happens if I just let it rise.
After several hours, it rose well, but I had something that was halfway between a starter and a bread dough. It was a sticky batter, so I decided to use it as a starter. In the past, I have had poor results when trying to create a starter (also known as levain). It just wouldn’t rise after the 24 hours that most suggest, so I had pretty much given up ever making a bread using a starter. Whenever I saw those bread recipes, I would dash the other direction as though running away from the plague. It was the biggest surprise to me that here I had actually created a starter, albeit in error.
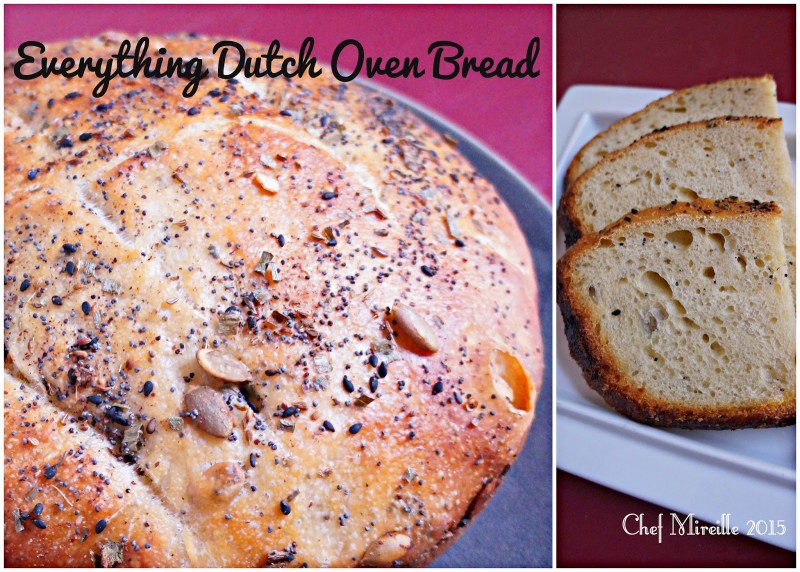
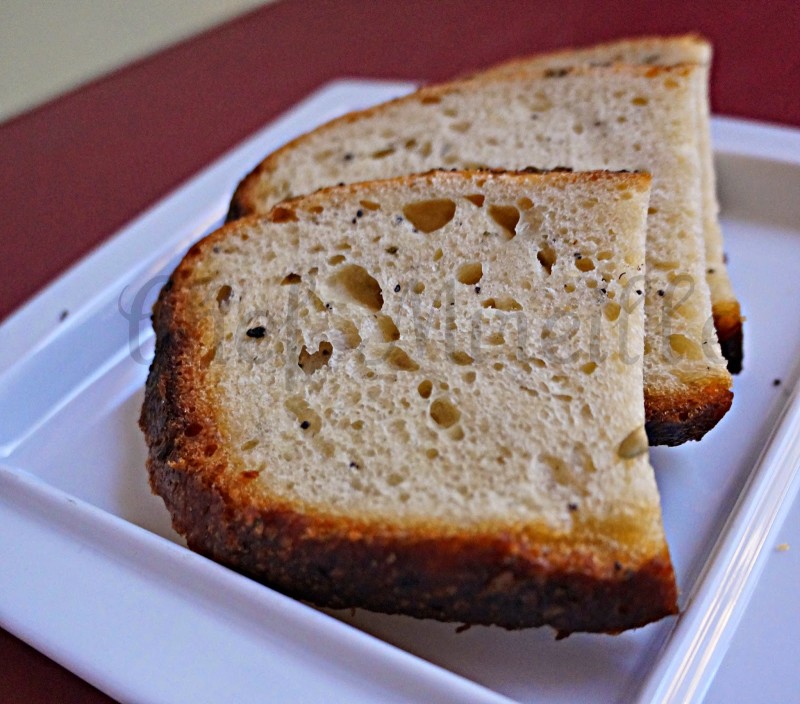
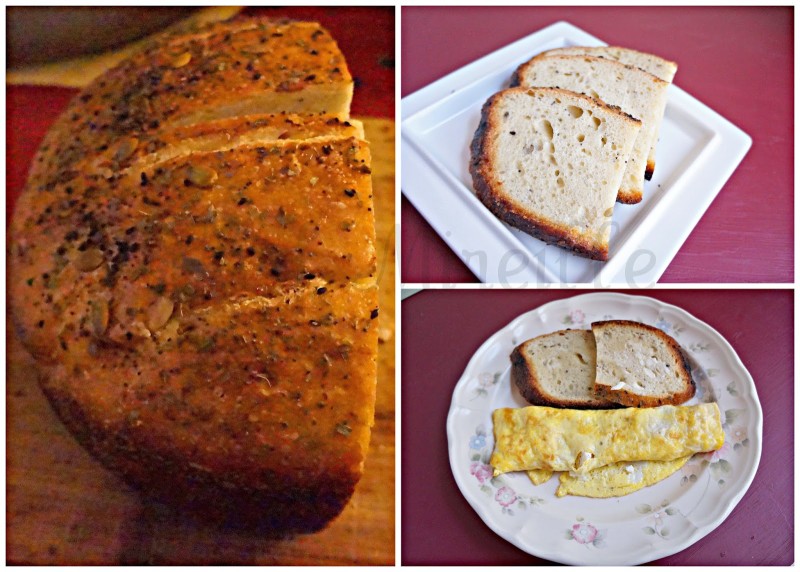
All the bread experts would probably say this recipe doesn’t follow accepted bread techniques. First, I flavored the starter and I am sure even more critiques would follow, but my result was a crusty exterior Artisan loaf that I would argue can compete against any European bakery.
So why did I bake it using a Dutch oven? First of all for those from other countries who may not be familiar with the Dutch oven term, all it is, is a big pot with a tight fitting lid. However, for baking bread you definitely want to use ceramic or cast iron and not a pot with a glass cover. I had done quite a lot of reading about baking breads in a Dutch oven. The surround heat that gets trapped in the pot, along with the moisture which creates steaming yields you the crispy crust you expect from Artisan loaves and most mimics a professional oven, so I was ready to give it a try.
This bread was a 2 day process, however it took longer than necessary because of my life schedule and when it was risen, I did not always have the time to deal with it or the rising time happened in the middle of the night when I was sleeping. See notes at the bottom of the recipe for details. That’s what’s great about Artisan breads. You can let it go a few extra hours and the flavor of the bread is only enhanced because of it. The longer it rises, the more flavor develops.
Yield: 2 loaves
Everything Spice Mix Ingredients:
- 1 tablespoon poppy seeds
- 1 teaspoon ground flax seed
- 1 teaspoon black sesame seeds
- 1 teaspoon anise seed
- 1 tablespoon dried chives
- 1/2 teaspoon onion powder
- 1/2 teaspoon garlic powder
- 1 tablespoon pepitas (pumpkin seeds)
- 1/2 teaspoon salt
- 1/2 teaspoon black pepper
Starter Ingredients:
- 3 1/4 cups + 2 tablespoons cold water
- 5 1/2 cups bread flour
- 3/4 teaspoon instant yeast
- 2 teaspoons salt
- 2 tablespoons Everything Spice Mix
- 2 tablespoons olive oil
- 1/2 cup water
- 5 cups all purpose flour
- 1/2 teaspoon instant yeast
- 1 tablespoon sugar
- 1 tablespoon salt
- 2 tablespoons Everything Spice Mix
Combine all ingredients to make Everything Spice Mix and stir to combine. Set aside.
Combine all starter ingredients and stir to form a sticky dough. Cover with plastic wrap sprayed with non stick spray and a kitchen towel. Leave to rise for 12-30 hours, until doubled in size. See notes below.
Add bread ingredients to the starter and mix to combine. Cover with plastic wrap sprayed with non stick spray and a kitchen towel. Leave to rise until doubled in size, 6-9 hours. See notes below.
Lightly grease one large (8 1/2″) and one medium sized (7 1/2″) Dutch oven.
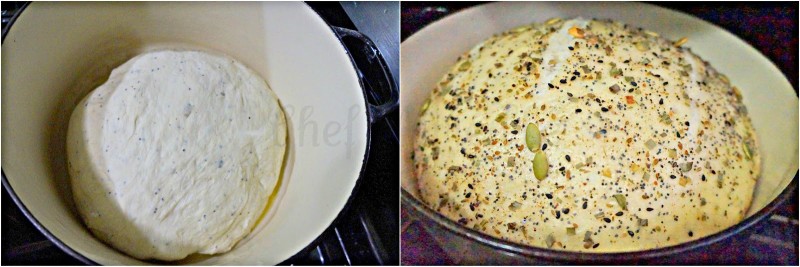
Transfer dough to a lightly floured board and knead to form two rounds, using 2/3 of the dough for one round and the remaining dough for the smaller round to place in the smaller oven. Place in the Dutch ovens. Cover and leave to rise for another 2-3 hours, until doubled in size.
Make a few slashes on the top of the dough.
Brush the top of the loaves with water and sprinkle the topping.
Cover and place the Dutch ovens in a cold oven and turn temperature to 450 F. Bake for 40 minutes.
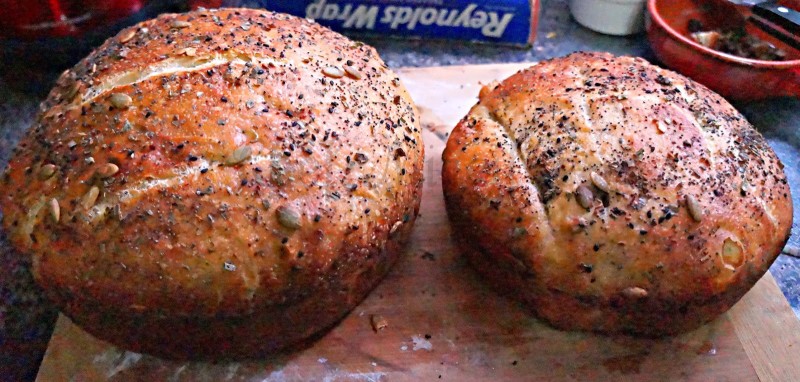
Uncover the Dutch oven and bake for another 10-15 minutes, until it is deep golden brown on top, rotating pots halfway through.
Notes:
- Because of my schedule, I left my starter out for about 30 hours, but it was most likely ready at around 12 hours because when I checked it at 10 hours before I went to sleep, it was almost at double.
- For the first rise, the dough was ready at 6 hours when I checked it at 3am, when I awoke to go to the bathroom in the middle of the night, however, I was half asleep so not ready to prepare the dough for the next rise yet. That is why I left it for 9 hours.
- Although I divided the dough into two pots because I wanted to make sure there was enough room for the bread to rise, in hindsight it could have all fit into the one large Dutch oven.
- I used a ceramic pot for baking, an imitation Le Creuset.
I have since revived a dormant starter a friend gave me two years ago and jumped on the Sourdough Train. I am now a sourdough convert and if you want to learn how I revived my dormant starter plus learn a bunch of sourdough recipes I will now be posting, stay tuned…
- Amaranth Banana Nut Quick Bread from Magnolia Days
- Anadama Bread from Baking in Pyjamas
- Bird Seed Bread from Culinary Adventures with Camilla
- Crunchy Seed Braid from A Shaggy Dough Story
- Hearty Seed Dinner Rolls from A Day in the Life on the Farm
- Khobz Mzaweq – Moroccan Decorated Bread from Food Lust People Love
- Lemon Chia Quick Bread from Basic N Delicious
- Lemon Curd Poppy Seed Bread from A Baker’s House
- Lemon Poppy Seed Bread from The PinterTest Kitchen
- Makowiec – Polish Poppy Seed Bread from Sweet Cinnamon & Honey
- Multigrain and Seed Bread Extraordinaire from Karen’s Kitchen Stories
- Multigrain Bread with Flaxseeds from Cooking Club
- Pain Petri (Moroccan Challah) from Passion Kneaded
- Seeded Club Soda Bread from Hezzi-D’s Books and Cooks
- Sesame Studded Grissini from Ruchik Randhap
- Simit – Turkish Ring Bread from Spice Roots
- Six Seed Soda Bread from Bakers and Best
- Sunflower Seed Bread from My Catholic Kitchen
- Sunflower Seed Bread from Kids and Chic

LIKE THIS RECIPE? LEAVE A COMMENT..I LIVE FOR THEM!
Chef Mireille



Your bread looks really tasty Mirielle! I can't wait to try it!
I have yet to bake bread in a Dutch oven. It is on my to do list. Glad you were successful with both your starter and the bread. It sure does look good.
I am absolutely going to try baking a bread in my dutch oven!! And kudos to you for not giving up! Your tenacity paid off big time.
I am going to have to add this to my 'to make' list. I love making bread in a dutch oven, glad you tried it out!
I think next time I will use my dutch oven to make my bread. What a lovey loaf.
Looks like the Dutch oven was a great choice for this bread– I love the crust you developed.
I've only ever baked one loaf in a Dutch oven but I was so pleased with it. I don't know why I haven't baked more. Your loaf turned out beautifully, Mireille!
Do you find baking sourdough as addicting as I do?! Great job with your first starter! 🙂 Beautiful loaves!
I make Dutch oven bread fairly often and can't wait to try this one! It has EVERYTHING in it!
I adore my Dutch oven, but I'd never thought to bake in it!! Genius. Thanks for the recipe. I will be trying it.
Hi chef Mireille ! Many number of seeds awesome………..I love that lovely brown colour on the bread,it looks like a tandoori chicken 😛
I've never made bread in a Dutch oven but this looks awesome!
You have a beautiful bread there! Looks so delicious! I am hearing about Dutch ovens and everything spice for the first time and thanks for your detailed post! There is so much to learn and I am so glad to be part of the baking group with you!
I make the No knead bread in my dutch oven but I have never made any changes to the simple recipe I have. It's time I made my bread as beautiful as yours.
I've baked a couple loaves in a vessel to simulate a Dutch oven. I always love how they turn out.
What a gorgeous bread – love all the wonderful flavours and seeds you used. It looks just scrumptious! I love that it is made in a Dutch oven – it's so rustic and fabulous! Pinned! Thank you for sharing with us at the Hearth and Soul hop. Hope to see you again this week. The hop is live now!