Last Updated on November 13, 2019 by Chef Mireille
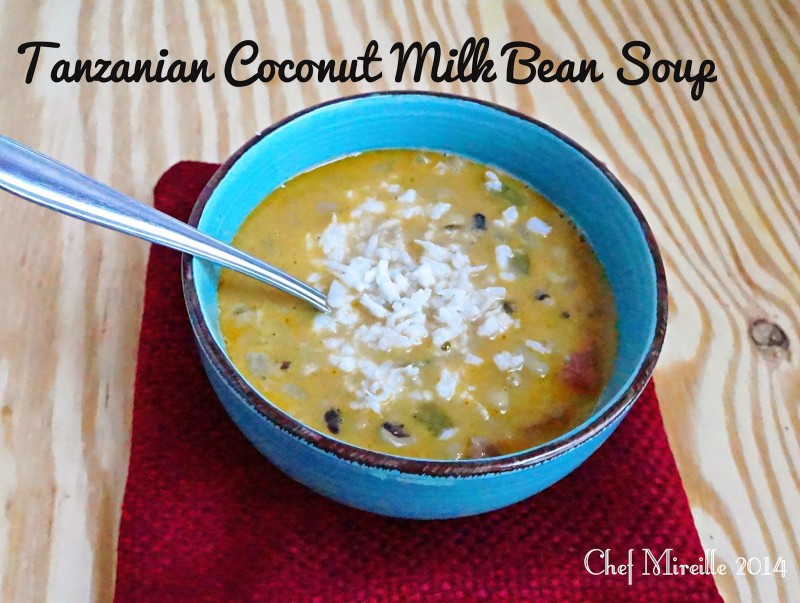
 I had planned to make this back during the Around the World blogging marathon to go with my Tanzania Coconut Milk Black Eyed Pea Soup, but then my normal excuse…time…and it never got made. Soup season is approaching so if you want a delicious soup to go with this Tanzania Layered Chapati, do check out the soup recipe here.
Now let’s get on to today’s recipe. First of all let me say from the get go, although inspired by the Indian version, there are distinct differences between the African version with its inspiration. I have seen some negative comments on line on other sites with a whole litany of complaints how the African version is done incorrectly from Indian commentators. The Zanzibar islands were a major stop on the trading route, so this is where the East Africans most likely came into contact with Indians who introduced them to the chappati. However, the Africans made it their own by using their own adaptations. While using oil instead of ghee may seem so strange to an Indian person, that is how it is done in East Africa.
This flat bread is popular throughout the East African countries of Kenya, Rwanda, Somalia, Borundi, Mozambique and others. However, this layered version is the preferred style of chapati made in Tanzania.
Tanzania Layered Chapati
Prep Time: 40 minutes
Cook Time: 15 minutes
Yield: Serves 4
Ingredients:
- 2 3/4 cups all purpose flour
- 3/4 salt
- 4 tablespoons oil
In a large bowl, combine 2 1/2 cups of the flour, salt and the oil. Additional flour will be used when kneading. Add 1 cup water and knead for about 5 minutes until the dough comes together. It will be very soft and sticky. Cover with a tea towel and leave to rest for 10-15 minutes. This will allow gluten to develop and make the dough easier to knead.
On a lightly floured surface, knead for 10 minutes. Set a timer. You need to knead for that long to get a very soft dough, the signature characteristic of the African chapati. Add more flour as necessary while kneading, if the dough starts to stick to the surface, not more than 1 tablespoon of flour. Cover with damp towel and leave to rest for 15 minutes.
On a lightly floured surface, roll the rested dough to a large circle, about 12″ in diameter. Brush the top with oil. Roll the dough into a cylinder. Stretch it to 18″ by knocking it against the work surface like a jump rope while holding each end and gently stretching. Divide it into 4 equal pieces.
Do the same jump rope technique to stretch each of these 4 pieces until it is about 10″ long. Roll into coils, using a little oil at the end just to make the dough stick.
Heat a skillet. Roll each coil into a circle about 8″ in diameter.
Place the circle on the hot skillet. After 1 minute, brush the top side of the bread with oil. Let it cook for about 2-3 minutes. Flip over. Brush the top with oil. Cook the other side for another minute. Remove from heat and cover while you cook the rest.
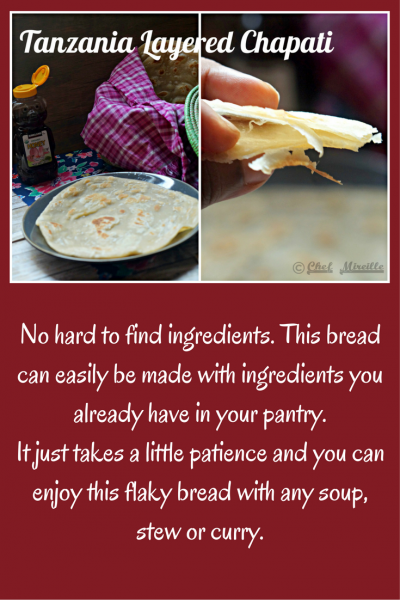
Check out all those air pockets. That’s because of all your patience kneading for 10 minutes and resting the dough…allowed all that gluten to develop…without yeast!
Serve with your favorite African soup or stew. It is also often served for breakfast, drizzled with a little honey.
All that hard work is worth it for these flaky layers.
Tanzania Layered Chapati
Ingredients
- 2 3/4 cups all purpose flour
- 3/4 salt
- 4 tablespoons oil
Instructions
- In a large bowl, combine 2 1/2 cups of the flour, salt and the oil. Additional flour will be used when kneading. Add 1 cup water and knead for about 5 minutes until the dough comes together. It will be very soft and sticky. Cover with a tea towel and leave to rest for 10-15 minutes. This will allow gluten to develop and make the dough easier to knead.
- On a lightly floured surface, knead for 10 minutes. Set a timer. You need to knead for that long to get a very soft dough, the signature characteristic of the African chapati. Add more flour as necessary while kneading, if the dough starts to stick to the surface, not more than 1 tablespoon of flour. Cover with damp towel and leave to rest for 15 minutes.
- On a lightly floured surface, roll the rested dough to a large circle, about 12" in diameter. Brush the top with oil. Roll the dough into a cylinder. Stretch it to 18" by knocking it against the work surface like a jump rope while holding each end and gently stretching. Divide it into 4 equal pieces.
- Do the same jump rope technique to stretch each of these 4 pieces until it is about 10" long. Roll into coils, using a little oil at the end just to make the dough stick.
- Heat a skillet. Roll each coil into a circle about 8" in diameter.
- Place the circle on the hot skillet. After 1 minute, brush the top side of the bread with oil. Let it cook for about 2-3 minutes. Flip over. Brush the top with oil. Cook the other side for another minute. Remove from heat and cover while you cook the rest.
Nutrition
Check out the Blogging Marathon page for the other Blogging Marathoners doing this BM#66


We make the same kinda rotis in India too. They are really yum. Thanks for sharing the recipe.
Interesting recipe. I look forward to giving it a whirl.
please let me know how you like it when you do. would love to know your feedback!
We too make this chapatti in India. In southern India it’s known as Malabar paratta. They are so good.
Very flaky chapati. Even I use oil for this layering. It has turned out so nice..
This looks so amazing and surprisingly pretty easy! I want to try to make this this weekend 🙂
Do let me know how it turned out!
That looks really good. It reminds me of all the kids’ favorite breakfast here in Malaysia- Roti Cani.
I LOVE Roti Canai – I was in Malaysia in February and my faves were roti canai and roti jala. That’s next on my to do list 🙂
Mir I like the way you have explained, I have never made the dough this way. The ingredients might be same but kneading will make all the difference. will try this , for me it is different.
yes the bread was so soft because of all the kneading
Wow, this layered chapati looks simply awesome, am hearing for the first time, looks super flaky.
yes – it was super flaky – had such an amazing texture!
As so many have pointed out these are similar to the Indian version of parotta! Love the flaky rotis.
That chapathi looks super flaky. BTW Indians too make the oiled version chapathis and in fact, I haven’t ever made a ghee version. The ghee versions are made only in some states.
good to know. many people comment with only what they know and not realizing there are many varieties of a dish within the same country even
Wow, those chapati look so flaky and delicious.
thanks – yes they are great with any soup or stew