Last Updated on June 3, 2015 by Chef Mireille
Now that I am part of the Tame the Yeast group, a sub group of the Blogging Marathon, where we will be experimenting with a variety of yeast risen breads every month, I thought a post on some of the basics of bread baking was appropriate. Even though I have been baking breads for more than 20 years, I mostly just followed recipes and I am great at reading directions and following recipes, so I really hadn’t had any bread making mishaps. That was pure luck.
Over the past two years, I starting developing my own recipes with some successes like this Quinoa Bread and also with some not so great results. I am still far from an expert and this is only what I have learned from trial and error and research. If you are feeling scared to start baking your own yeast breads, read through this and you will be armed with the knowledge to bake successful breads.
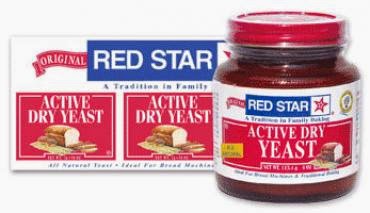
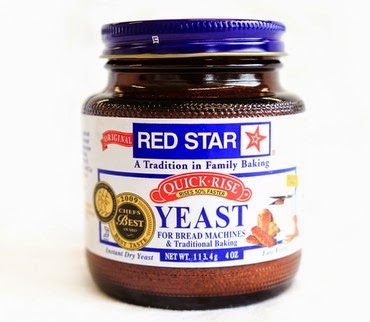
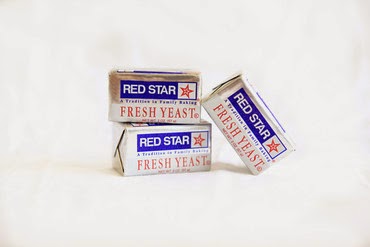
Let’s first talk about yeast. There are three types of yeast that can be used – dry active yeast, instant yeast and fresh yeast.
Depending on the climate you live, yeast can be stored at room temperature or the refrigerator. I generally store yeast in a kitchen cabinet at room temperature. However if you live in a very hot and humid climate in a tropical country, it would be better to store it in the refrigerator and you can use it directly from the refrigerator.
Dry active yeast and fresh yeast needs hot water to activate. It can be activated in lukewarm water, milk, or butter. The temperature of the liquid should be 110 F – 120 F. It should be activated prior to adding to the flour in a recipe. A sweetener like sugar or honey also helps the yeast to activate. To activate yeast, you should first dissolve the sweetener in the hot liquid. Then sprinkle the yeast on top and wait 5-10 minutes. The liquid should turn foamy. If it does not turn foamy, either the liquid temperature was off or your yeast was dead.
For fresh yeast to activate, again first mix the lukewarm water with a sweetener. Crumble the yeast into the warm water. Wait 5-10 minutes for it to activate.
Instant yeast, also sold as quick rise yeast or rapid rise yeast, does not need to activate in hot water. You can put this yeast directly into the flour and add the warm liquid being used in the recipe. Instant yeast can tolerate warmer temperatures and if you choose to still activate it for a quicker rise, you can activate it at temperatures between 120 F – 130 F.
To get the same rise, 3 times the quantity by weight of fresh yeast to instant yeast should be used and 2 1/2 times the quantity of fresh yeast by weight to dry active yeast should be used if substituting in a recipe.
In order for gluten to develop, it needs protein. Here in America, our flour is very high in protein. Even if you just buy all purpose flour or whole wheat flour at your regular supermarket, you should not have any problems. Worldwide compared to flours in other countries, our variety of Hard Red Wheat has the highest protein content than any wheat flour.
For even faster and better results, you can also purchase bread flour which has an even higher protein content and in some markets you can also purchase whole wheat bread flour. Using bread flour will result in a more chewy result with more air pockets than regular flour.
In many other countries especially in Asia and Africa, durum wheat is the only wheat flour available. This whole wheat has a lower protein content than Hard Red Wheat and will take a much longer time to rise. To compensate, make sure the bread is kneaded well so that the gluten is developed. Additionally, in these countries you can also purchase vital wheat gluten which will help the dough to rise. Here in America, you can only purchase vital wheat gluten at special International markets.
Hope you feel confident now armed with the knowledge to make fantastic yeast risen breads.
Check out the Blogging Marathon page for the other Blogging Marathoners doing BM#43
LIKE THIS RECIPE? LEAVE A COMMENT..I LIVE FOR THEM!
Chef Mireille


Loved this post to the core, definitely everyone should read before starting bread baking..Wonderful Mir.
That's a fantastic post Mir, thank you for the efforts!
Very very useful post. Keep these basic posts coming.
That is a very nicely written post on baking basics.
Good one, Mir. Also a quick question. Can a stand mixer be used to knead the bread dough?
yes as long as you have the dough hook attachment. I also use the stand mixer sometimes instead of by hand.
Good one for beginners in bread baking.